DO’S AND DON’T’S OF INSTALLING HIGH PRESSURE LAMINATES
April 13, 2017
HOW TO GET DESIGNER DOORS FOR YOUR HOME ON A BUDGET?
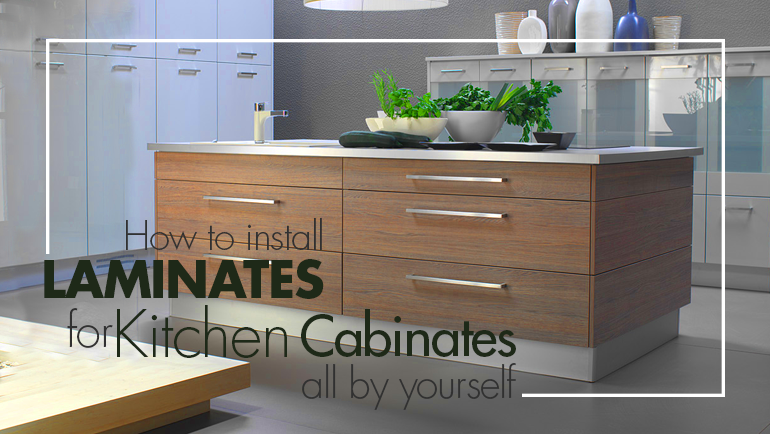
April 25, 2017One of the easiest ways to give your Kitchen a makeover of your dreams at an affordable price is by installing laminates for kitchen cabinets. Kitchen Laminates are easy-to-use in any setting and it is possible to install them all by yourself, even if you’re doing it for the very first time. A little hands-on experience with basic carpentry would do wonders, but the kitchen laminates design one of the easiest projects that can be taken up by beginners or even first-timers with little professional help, or none at all. Here are the steps that one must follow to adopt the easiest method to install laminates for kitchen cabinets at home.
List of Materials to keep handy for installing laminates for kitchen cabinets –
- Screw driver
- Sandpaper
- Hammer
- Wall Putty
- Duster Cloth
- Wood Glue
- Nails
- Laminate veneer sheets
-
Remove doors and related hardware
Opening up the cabinet door and removing hinges and related material is the first thing to do while installing laminates for kitchen cabinets. This can be done by the use of a hammer-fork and screw-drivers. Always remember to be gentle during de-mantling and be careful of splinters and nails when using the kitchen laminates design. It is advisable to not pull out any piece with too much force as that increases chances of damage to the cabinet. Also remember to store each material that is dis-mantled if it is to be used again for re-mantling after the kitchen laminate sheets have been installed in the kitchen laminates design.
-
Scrub and clean all surfaces for installing laminates for Kitchen Cabinets
Scrub all surfaces generously with sand paper for installing laminates for kitchen cabinets. Be it the surface kitchen cabinet doors, sides or floor, scrub well to expose a fresh surface. Use a duster cloth to remove the dust from scrubbed particles and then wipe off the smaller, stickier particles with a damp cloth, dipped in soap water. This is an important step as it ensures no dust particles adhere to the laminate surface for the kitchen laminates design.
-
Install self-adhesive kitchen laminate to interior edges
Cut the self-adhesive veneer sheet into strips, and leave and an extra half an inch, both in length and width for trimming the edges after installation. The vertical pieces have to be covered first, followed by the horizontal ones (i.e. the rails etc.). Start with the top of the stile, and peel back into a small piece of the backing paper when installing kitchen laminate. The edge of the veneer strip should be aligned with the edge near perfectly because it is near-impossible to move the veneer after it has been applied. In other words, with kitchen laminates design there is no room for making things right after they’ve once been done. Once the inside of the stiles is done, trim off the edges inside using a sharp knife, cutter or scissors.
-
Applying Veneer
Once the self-adhesive veneer strips have been cut, it is finally time to install the kitchen laminate veneer sheets. Place the kitchen laminate veneer sheet with the edge of the cabinet, just perfectly fitting at the top and press downwards, smoothening as you go down. It is advisable to keep an extra edge to trim as that would help setting it in the best frame possible and giving the cabinet full coverage with kitchen laminates design.
-
Last but not the least, a close trim works well.
Use a sharp knife and very carefully trim the edges of the kitchen laminate design cabinet with a steady hand.
Congratulations! Your laminates for Kitchen Cabinets look more fabulous than ever!


